UM:Overlay Masks
Hot key : F9
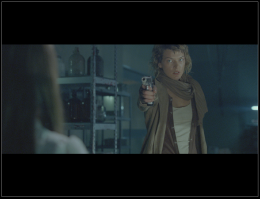
Masks crop (black out) rectangular areas of the displayed image.
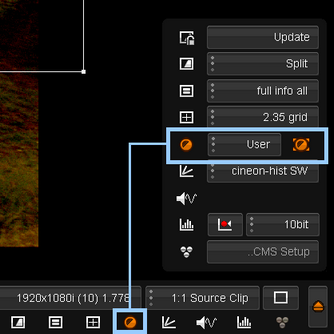
Press the masks button to activate the picture mask function and then select the mask that you want to apply from the drop-down menu.
Options
This drop-down list defines which mask to apply to the image.
Sample masks included are:
| • | user |
| • | 4:3 |
| • | 16:9 |
| • | 1.85 |
| • | 2.35 |
User mask
The user mask allows you to interactively draw your own mask over the image.
In User mask mode, press the mask edit button :
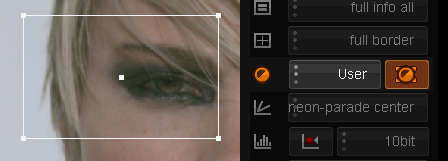
A rectangular overlay will appear over the image with handles on each corner. You can interactively resize the rectangle to create your mask by dragging each of the corners.
|
Edit User Mask Use mouse to drag rectangle corners to resize mask. Move mask by picking and dragging center point. |
|
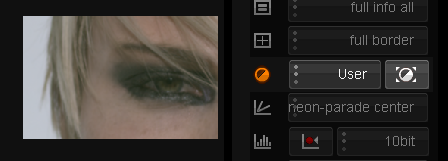
Disable Edit Mode Turn off edit mode to see mask applied to image. |
Mask Specifications
For the Mask format and specification, see Appendix Masks Specification.


