UM:Importing Material Chapter
This chapter describes :
| • | How to get media (both video and audio) into the project library for use |
| • | How to recursively import entire folders automatically |
| • | How to import and conform from list files (e.g. an EDL) |
| • | How to make sure each piece of media we import has the proper metadata attached |
| • | How to manage our media library |
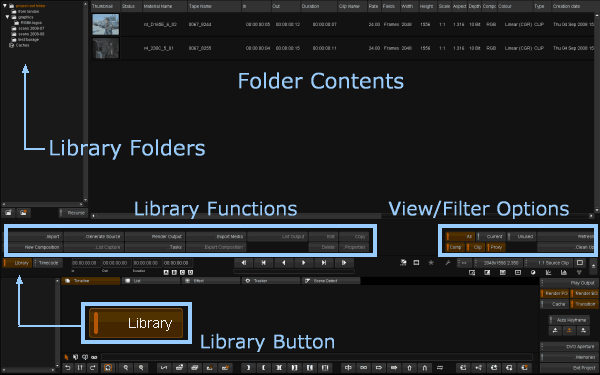
We import material into our project via the Library. Switch to the Library module via :
| • | F1 hotkey or |
| • | Library button |
Although we talk about importing in this chapter, the application does not move or copy media around. Unlike some applications that make you import to a proprietary storage volume, we create library references to the original media files. Importing large sequences is almost instant in most cases. |
The Library Module will appear over the top part of our desktop :
Project desktop with Library View in upper part.
For a complete description of the Library see the Library chapter. |
We can get material into the project library in three ways :
| • | Directly importing media (image or audio) |
| • | Importing material via a list (and then doing a List Capture) |
| • | Capturing media from a tape source - this is covered separately in the VTR section |
In the first two cases, you start off by clicking on the ..Import button in the library :
This will launch the file browser and let us browse and load an image sequence or movie, audio or list file.
For supported file formats, see File Format Support.
