UM:Effects Transition
Transition effects can be added manually between two adjacent segments on the timeline. An imported EDL may also include transitions between shots.
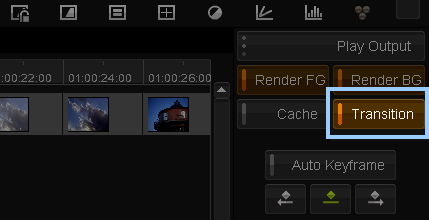
Enable the Transition button - transitions will not be rendered and displayed unless the Transition button is enabled.
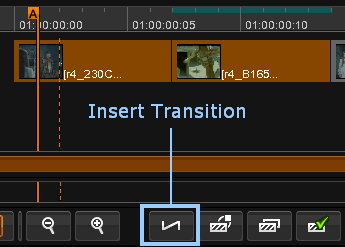
Select two adjacent segments on the timeline (hold down the CTRL key whilst clicking on the segments) and press the Insert Transition button on the timeline toolbar:
Valid Transition
A valid transition will be shown in white, as a diagonal line between the two segments, with a vertical line on the start and end frames.
Invalid Transition
If there is not enough material for the transition as set (insufficient handles), then that part of the transition will be displayed as red :
You can fix an invalid transition by going into trim mode and either :
| • | Trimming the shot that requires the extra handles for the transition. Once valid, the transition changes from red to white. |
| • | Adjusting the transition itself |
Selected Transition
A selected transition is displayed as orange.
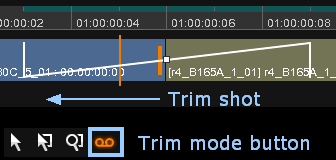
If the transition is fully valid, i.e. there are sufficient handles in the tail of the first segment and head of the second segment to carry out the transition, then the line denoting the transition will be white, as in the image above. If there are insufficient head or tail overlap frames then the line be red, instead of white, over those frames which have insufficient underlying material.
To make the transition valid, you can either adjust the transition handles, i.e. the start/end frames of the transition, or you can trim the underlying segments to create the necessary handles. For either operation you need to switch to 'Trim Mode', via the button on the shared toolbar, shown in the image above.
Once in trim mode, you can click on the transition handles and drag them with the mouse to increase or decrease the length/duration of the transition.
For trimming. refer to the Trim Modes section.
Editing the Effect on a Transition
To edit the parameters of the transition effect you first need to make the transition the active selection.
To do this, place the active playhead in the first segment, positioning it over any of the frames the make up the transition. This will set the underlying segment as the active segment.
Then press the keyboard Page Down key to switch the active selection from the segment to the transition.
Note that the play head flag will change (drop down) to show that you are editing the dissolve now :
A blue box will now appear around the transition to show that it is the active selection, and the effects tree panel will change to display the transition effect:
To edit the parameters of the transition effect you simply have to double-click on the effect in the effects tree panel, as when editing any effect.


