UM:Batch Render
| From Release : | 2015.1 |
The Batch Render feature lets you render one or more compositions from any of your projects in a non-interactive way.
Using a simple interface, you can select compositions you want to render, chosen from any project, add them to a list and then render them using :
- A Windows batch (.bat) file
- A Digital Vision batch file (.dvbatch)
- Immediate render by application
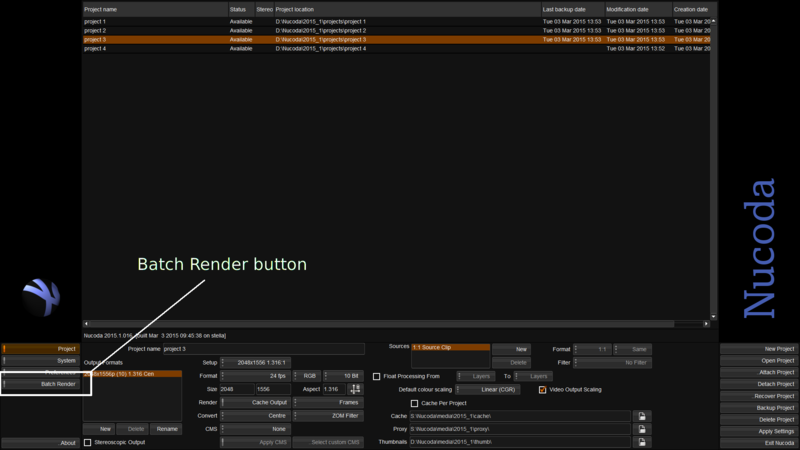
Pressing the Batch Render button will open a dialog that lets you :
- Select a project
- See available compositions inside the selected project
- Add compositions to a render list (queue)
- For rendering, you can :
- Render the entire list now
- Save the list as a Windows .bat file or
- Save the list as a Digital Vision .dvbatch file
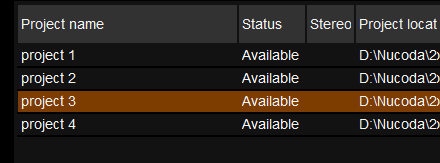
With the Batch Render window open, select a project :
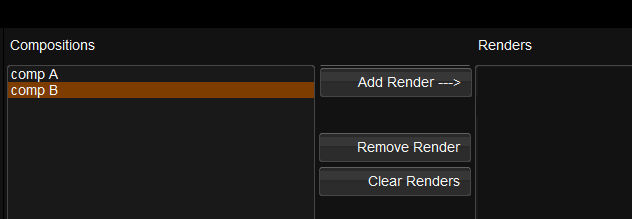
The list below will change to show the available compositions for the selected project :
If you want to render a composition, select it and press the Add Render button.
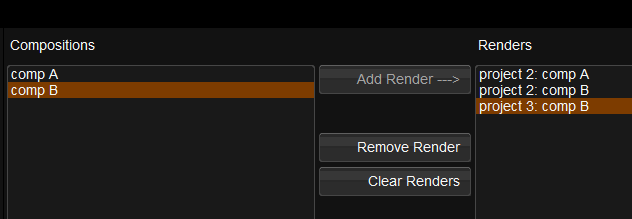
This adds the selected composition to the Renders list on the right. You can continue this process (select project, select composition) and build the render list :
If you make a mistake, select the mistaken render item and press Remove Render. To start again, press Clear Renders.
One you have the render list created, there are three ways to proceed with a render.
NOTE
To ensure that Windows can find the render program executable (i.e. nucoda.exe, phoenix_finish.exe etc.), you need to add the path to the Digital Vision executable to the Windows System PATH environment. See the Support FAQ.
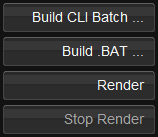
This will write the render commands to a Digital Vision batch file.
| Extension : | .dvbatch |
A Digital Vision batch file is rendered using the --batch-file command-line option.
A file browser dialog opens and lets you choose a location and name for your batch file, which will be given a .dvbatch extension automatically.
The contents of the .batch file will look like :
--project "project 2" --composition "comp A" --render-output
--project "project 2" --composition "comp B" --render-output
--project "project 3" --composition "comp B" --render-output
To render this, open a Windows CMD shell and type :
nucoda.exe --batch-file <batch-file.dvbatch>
Replace nucoda.exe with the product executable name you are using.
This will write a standalone Windows batch (.bat) file.
| Extension : | .bat |
A Windows .bat batch file is rendered in the normal Windows way (e.g. double-clicking file).
A file browser dialog opens and lets you choose a location and name for your batch file, which will be given a .bat extension automatically.
The contents of the .bat file will look like :
nucoda.exe --project "project 2" --composition "comp A" --render-output
nucoda.exe --project "project 2" --composition "comp B" --render-output
nucoda.exe --project "project 3" --composition "comp B" --render-output
To render this :
- Double-click the batch file
The Render button will render the list immediately. A new window will open to display the output log of the render, showing progress.
You may need to ALT+TAB to make it visible.
If you need to stop this render for any reason, press the Stop Render button.
